My Leave
This feature focuses on the Leave aspect of the system that can be accessed by every user. Here, the user can apply for their leave, apply for their replacement credits and also check their leave balances.
Accessing My Leave
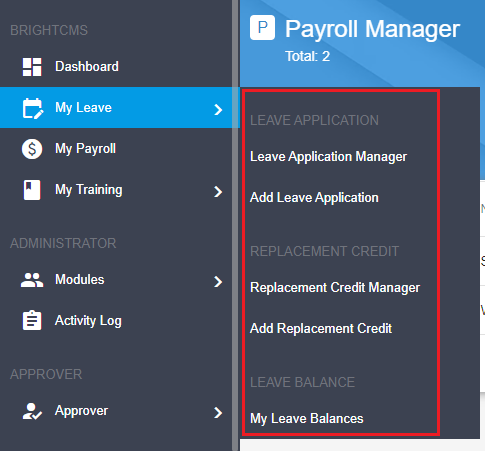
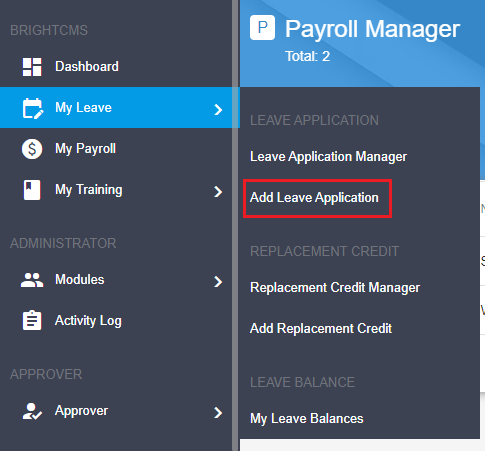
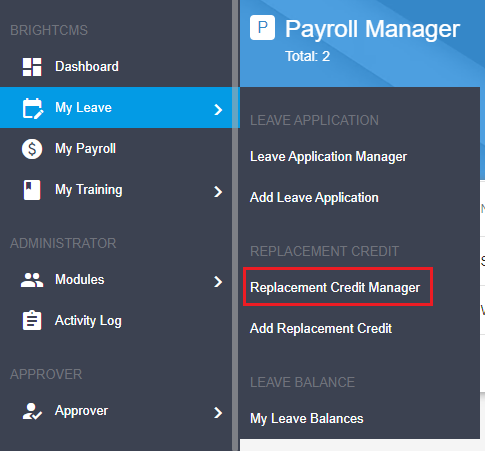
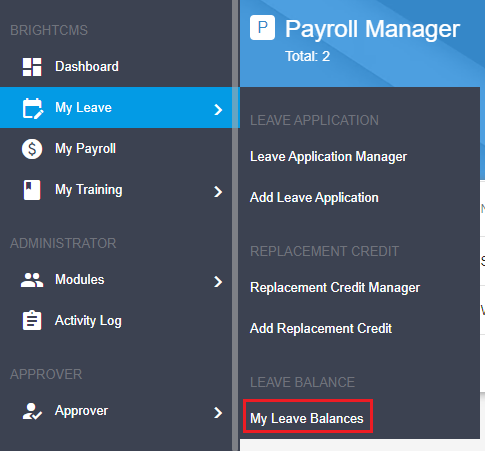
To access My Leave, in the sidebar menu, go to BrightCMS, then hover over My Leave. You will be able to see a list of functions as displayed in the image below.
Leave Application
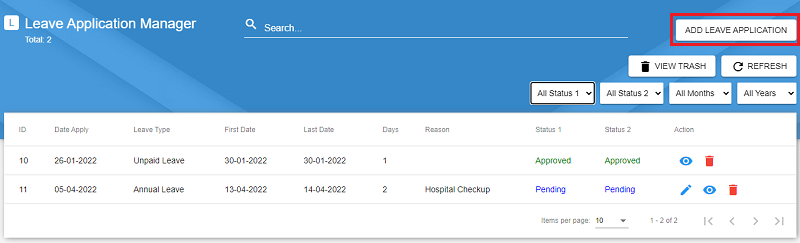
The function of this feature is to manage the logged in user's leave applications. In the Leave Application Manager, the user is able to see all of their leave applications made within the system. Once both Status 1 and Status 2 are approved, the Leave Application is Approved.
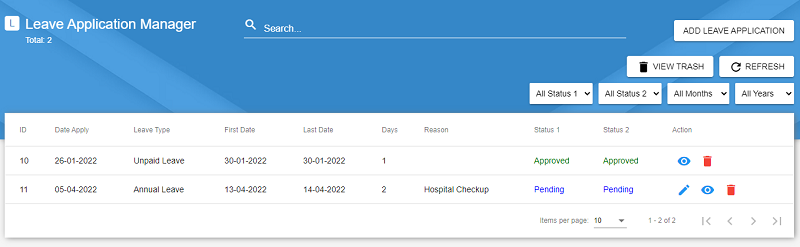
The following table will list down in details, the functions of the icon buttons that you can see in the table.
| Icon Button | Function |
|---|---|
Links to the page to edit the Leave Application. Will be hidden once the approver responded to the application. |
|
Opens up a popup to display the details of the Leave Application. |
|
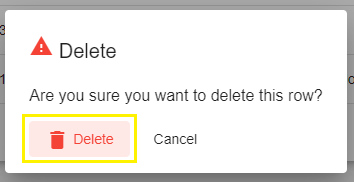
Opens up a confirmation popup. Click the Delete button to confirm your deletion of the Leave Application. |
Accessing the Leave Application Manager
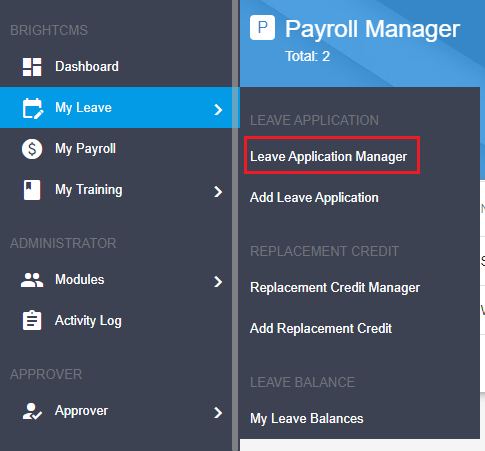
To access the Leave Application Manager, click on the Leave Application Manager as depicted in the image below.
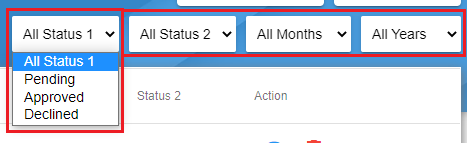
Searching and Filtering Leave Applications
To search for leave applications, click on the searchbar then type in the Leave Type.

To filter records, use the dropdown on the right side of the Manager. You can filter the data by any of the filters available.
Adding a Leave Application
There are 2 methods to add in leave applications. Both will redirect to the Leave Application form.
Method 1 : Leave Application Manager
Click on the Add Leave Application button in the Leave Application Manager as shown in the image below.
Method 2 : Sidebar Menu
Go to the Sidebar menu and click on Add Leave Application.
Filling Up the Form
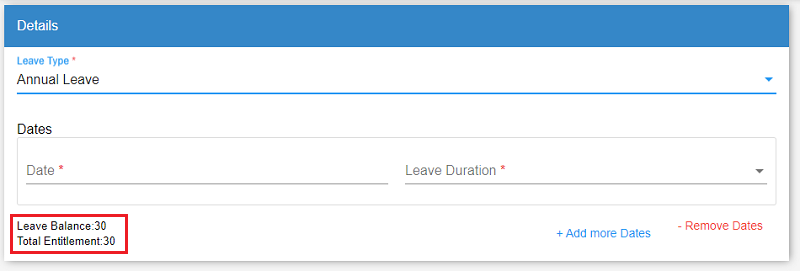
The following form will appear.
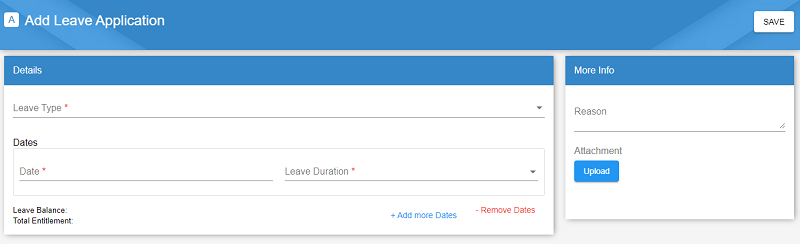
Once the Leave Type is selected, the leave balance and the total entitlement will be displayed as shown in the following image.
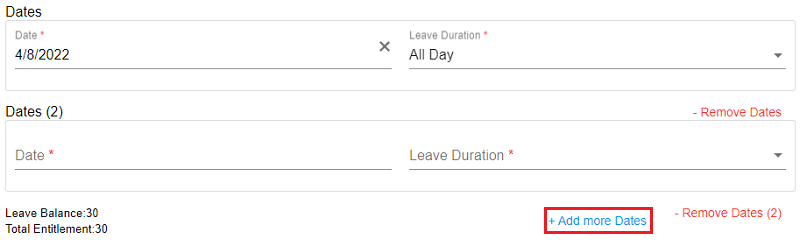
To add in the dates, choose a date (eg. 8 April) from the calendar by clicking on the date field. Then select the leave duration.

To add in more dates, click on the + Add more Dates button. Another field will appear for you to fill in the date and the leave duration. Likewise, to remove the dates, click on the - Remove Dates button.
{info} All leave application dates should be applied before the number of days set in
Leave Settings. This applies to allLeave TypeexceptAnnual LeaveandSick Leave.
You may type in any remarks and if there are any attachments, you can upload them by clicking on the Upload button.
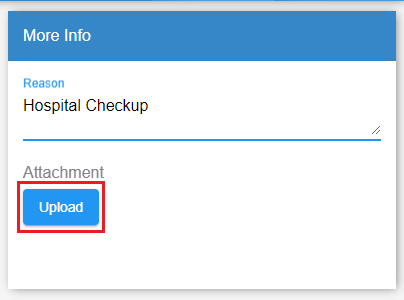
Once done, click on the Save button on the top right to save your application.
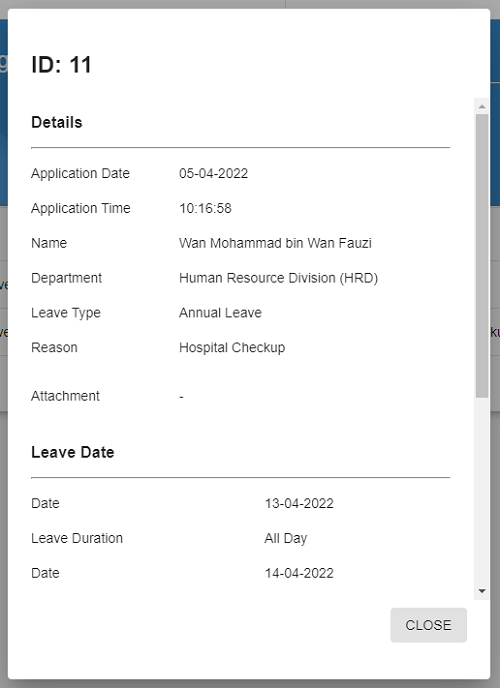
Viewing a Leave Application
To view a Leave Application, click on the
Editing a Leave Application
To edit a Leave Application, click on the Save.

Deleting a Leave Application
To delete a Leave Application, click on the Delete to delete the application.
Replacement Credit
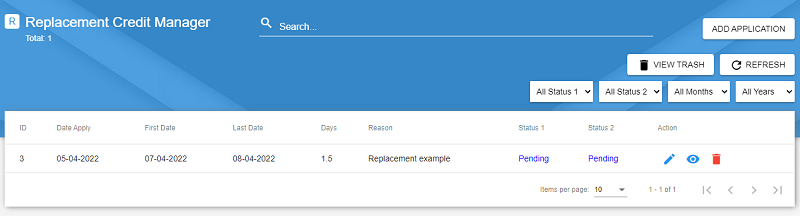
The function of this feature is to manage the logged in user's replacement credits. In the Replacement Credit Manager, the user is able to see all of their replacement credits made within the system. Once both Status 1 and Status 2 are approved, the Replacement Credit is approved.
The following table will list down in details, the functions of the icon buttons that you can see in the table.
| Icon Button | Function |
|---|---|
Links to the page to edit the Replacement Credit. Will be hidden once the approver responded to the application. |
|
Opens up a popup to display the details of the Replacement Credit. |
|
Opens up a confirmation popup. Click the Delete button to confirm deletion of the Replacement Credit. |
Accessing the Replacement Credit Manager
To access the Replacement Credit Manager, click on the Replacement Credit Manager as depicted in the image below.
Searching and Filtering Replacement Credits
To search for replacement credits, click on the searchbar then type in the day from Date Apply (eg. 05). You may also combine the search with the filter to get data for a specific Date Apply.
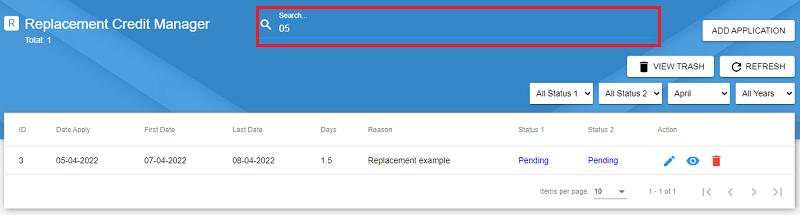
{info} To search for days from 1 - 9, you must add in 0 to the front such as
05
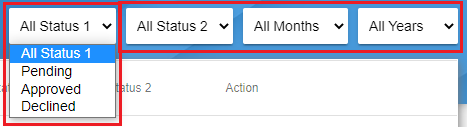
To filter records, use the dropdown on the right side of the Manager. You can filter the data by any of the filters available.
Adding a Replacement Credit
There are 2 methods to add in replacement credit. Both will redirect to the Replacement Credit form.
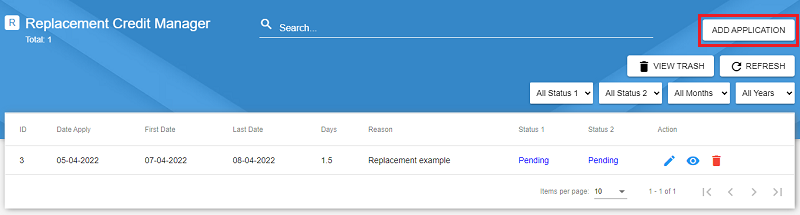
Method 1 : Replacement Credit Manager
Click on the Add Application button in the Replacement Credit Manager as depicted in the following image.
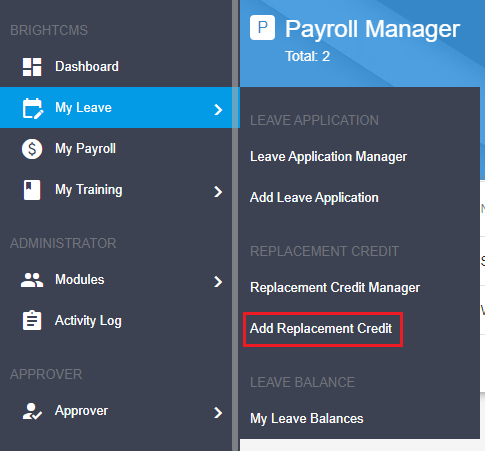
Method 2 : Sidebar Menu
Go to the Sidebar menu and click on Add Replacement Credit.
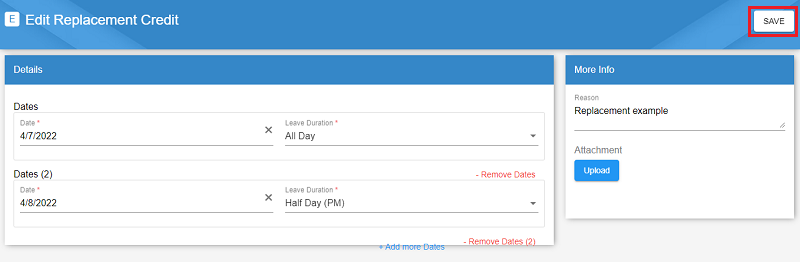
Filling Up the Form
The following form will appear.
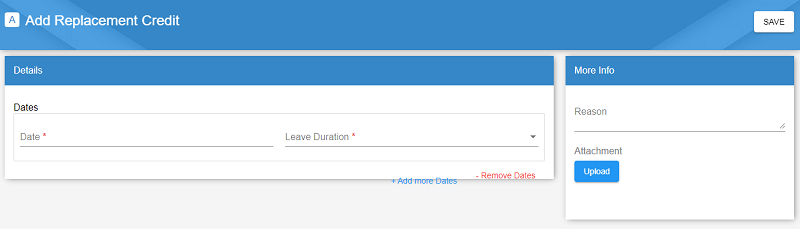
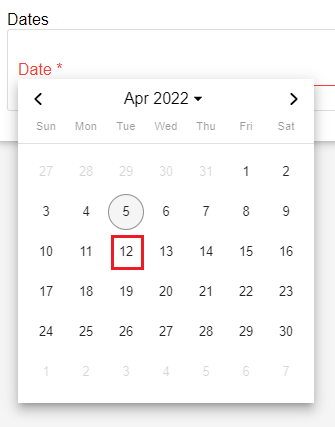
To add in the dates, choose a date (eg. 12 April) from the calendar by clicking on the date field. Then select the leave duration.
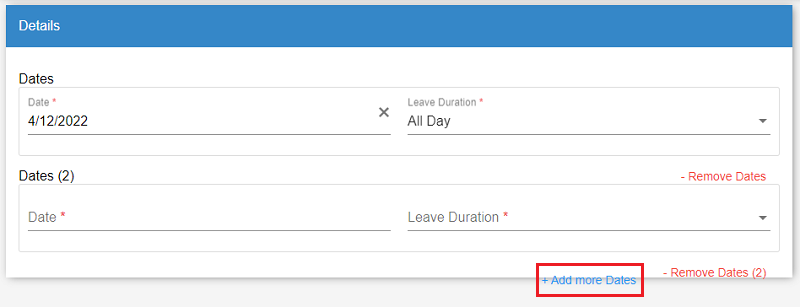
To add in more dates, click on the + Add more Dates button. Another field will appear for you to fill in the date and the leave duration. Likewise, to remove the dates, click on the - Remove Dates button.
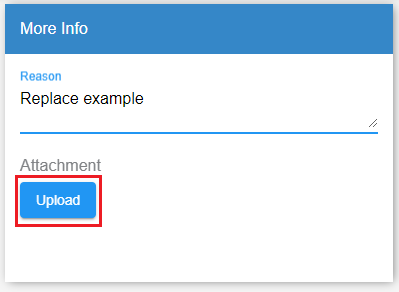
You may type in any remarks and if there are any attachments, you can upload them by clicking on the Upload button.
Once done, click on the Save button on the top right to save your application.
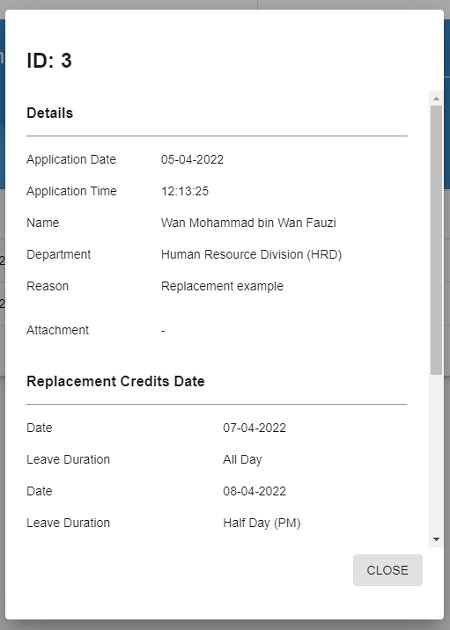
Viewing a Replacement Credit
To view a Replacement Credit, click on the
Editing a Replacement Credit
To edit a Replacement Credit, click on the Save.
Deleting a Replacement Credit
To delete a Replacement Credit, click on the Deleteto delete the application.
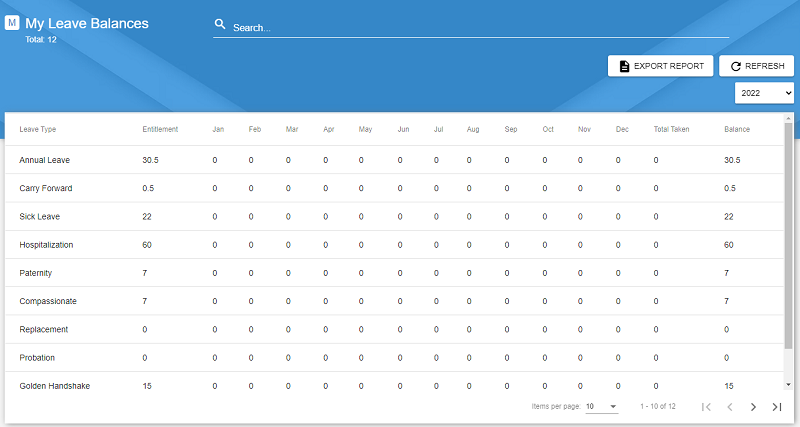
Leave Balance
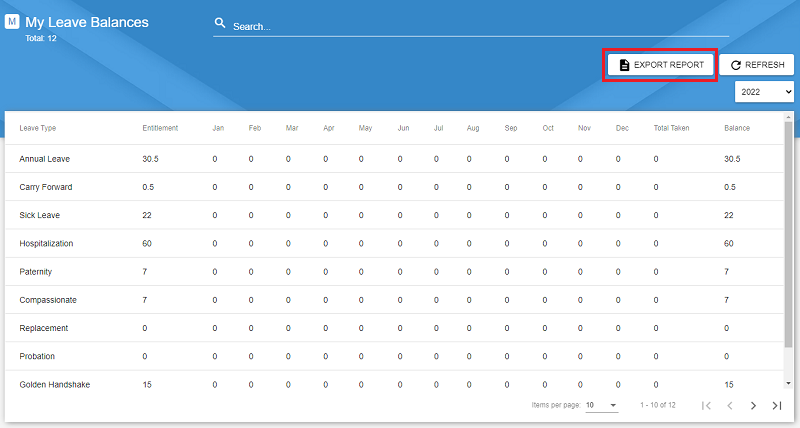
Leave Balance is the remaining number of leaves an employee has. In the My Leave Balances, the user is able to see their leave balances according to the Leave Type.
Accessing My Leave Balances
To access the My Leave Balances, click on the My Leave Balances as shown in the image below.
Searching and Filtering Leave Balance
To search for a specific leave balance, click on the Searchbar then type in the Leave Type.

To filter records, use the dropdown on the right side of the Manager. You can filter the data by any of the filters available.
Exporting Report
To export the Leave Balances Report, click on the Export Report button as shown in the following image.
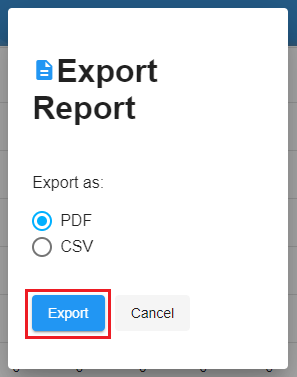
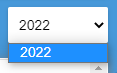
A popup will appear for you to choose the export format. There are 2 export formats, namely PDF and CSV. Select a format then click Export.